Your Ultimate Guide to Swapping the R53 Head Gasket

.svg)


Why the R53 Head Gasket Matters (And How to Fix It Right)
R53 head gasket replacement is a challenging repair for any first-generation MINI Cooper S owner. Here's a quick overview:
Quick Answer: What You're Getting Into
- Time Required: 6-12 hours of work, depending on your experience
- Difficulty Level: Advanced (requires special timing tools and precision)
- Key Warning Signs: White exhaust smoke, coolant loss, milky oil, overheating
- Main Cause: Electric cooling fan failure leading to overheating (especially in pre-2006 models)
- DIY vs. Pro: This is a complex job requiring special tools and expertise
Overheating or milky oil are classic signs of a blown head gasket. This issue can occur even at low mileage; one 2003 MINI Cooper S reportedly had a failure at just 47,000 miles, proving that low mileage doesn't make you immune.
The R53's 1.6L boostd engine is prone to head gasket issues, often caused by a failed electric cooling fan. This allows the engine to overheat, and Gen 1 MINIs (2002-2006) are particularly susceptible to cracked heads from cooling system failure.
This repair involves more than a simple gasket swap. It requires removing the boostr, setting engine timing with special tools, and possibly machining a warped cylinder head, which explains the high cost at professional shops.
For the mechanically inclined owner, this guide details the entire process, from diagnosis to reassembly.

Diagnosing, Preparing, and What to Expect
Properly diagnosing a blown head gasket is critical. Misdiagnosis wastes time and money, while ignoring symptoms can lead to catastrophic engine damage.
Is Your R53 Head Gasket Blown? Key Symptoms to Check
The head gasket seals combustion pressure between the engine block and cylinder head, keeping oil and coolant separate. When it fails, the symptoms are clear.
An overheating engine is the first red flag. On pre-2006 R53s, the temperature gauge can be unreliable. A silent cooling fan failure can cause severe overheating before the gauge alerts you.
White smoke billowing from your exhaust (not just morning condensation) means coolant is burning in the combustion chambers.
Unexplained coolant loss without visible leaks under the car suggests the coolant is entering the engine's oil or combustion chambers.
Check the oil dipstick. Milky, chocolate-milk-like oil or a foamy consistency indicates coolant contamination. A white, sludgy residue under the oil cap is another clear sign.
When the engine is warm, check the coolant reservoir for persistent bubbles, which indicate combustion gases are leaking into the cooling system.
Finally, engine misfires can occur if coolant fouls the spark plugs, causing rough idling or power loss.
If you're experiencing these symptoms, don't wait. For comprehensive diagnostics, check out more info about our engine diagnostic services. Catching this early can prevent more expensive repairs.
Why R53 Head Gaskets Fail and What it Costs
Understanding the cause of failure is key to preventing a repeat issue. The R53's primary weakness is the cooling system. Cooling fan failure is the main culprit, causing rapid overheating that may not register on the gauge in time, leading to cracked heads on Gen 1 models.
Other causes include a sticking thermostat that fails closed or any severe overheating event that puts immense stress on the gasket. This extreme heat can warp the aluminum cylinder head. A warped head won't seal with a new gasket and must be resurfaced by a machine shop.
R53 head gasket replacement is costly. Professional repairs can run into the thousands, making DIY an attractive option. Costs include:
- Parts costs: Head gasket, new head bolts (which are single-use), valve cover gasket, and other seals.
- Labor time: Expect 6 to 12 hours, depending on your experience.
- Potential machine shop fees: If your cylinder head needs machining, this adds cost and downtime.
This is why many owners either DIY the repair or trust specialists who understand the R53's quirks.
The Ultimate R53 Parts and Tools Checklist
Proper preparation is crucial to avoid delays. Gather all parts and tools before you begin.
Essential Parts:
- OEM or high-quality head gasket: Standard is 0.65mm; use a 0.95mm gasket for a machined head.
- New head bolts: These are torque-to-yield and must be replaced.
- Valve cover gasket set
- Thermostat and gasket
- Boostr horn, intake, and exhaust manifold gaskets
Recommended Upgrades & "While You're In There" Parts:
- ARP head studs: A reusable, high-clamping force alternative to OEM bolts.
- Timing chain kit: A smart replacement for high-mileage engines.
- Water pump: Notorious for failing, so replace it now.
- Silicone coolant hoses: Offer better heat resistance.
- Fan resistor: A common failure point in the cooling system.
- Other preventative parts: Idler/crank pulleys, oil cooler gaskets, dipstick tube O-ring, sump gasket, injector seals, PCV valve, and crank sensor.
Special Tools:
- MINI timing tool set: Absolutely essential, as the R53 has no timing marks.
- Accurate torque wrench
- E-Torx sockets
- Bolt extractor set for seized bolts
- Straightedge and feeler gauges to check for warpage
- Engine hoist or support
If you're in the Huntington Beach area and decide this is more than you want to tackle, the team at Autowerkes has the expertise and tools to handle your R53 head gasket replacement properly. Schedule your expert MINI repair today and let professionals take care of it.
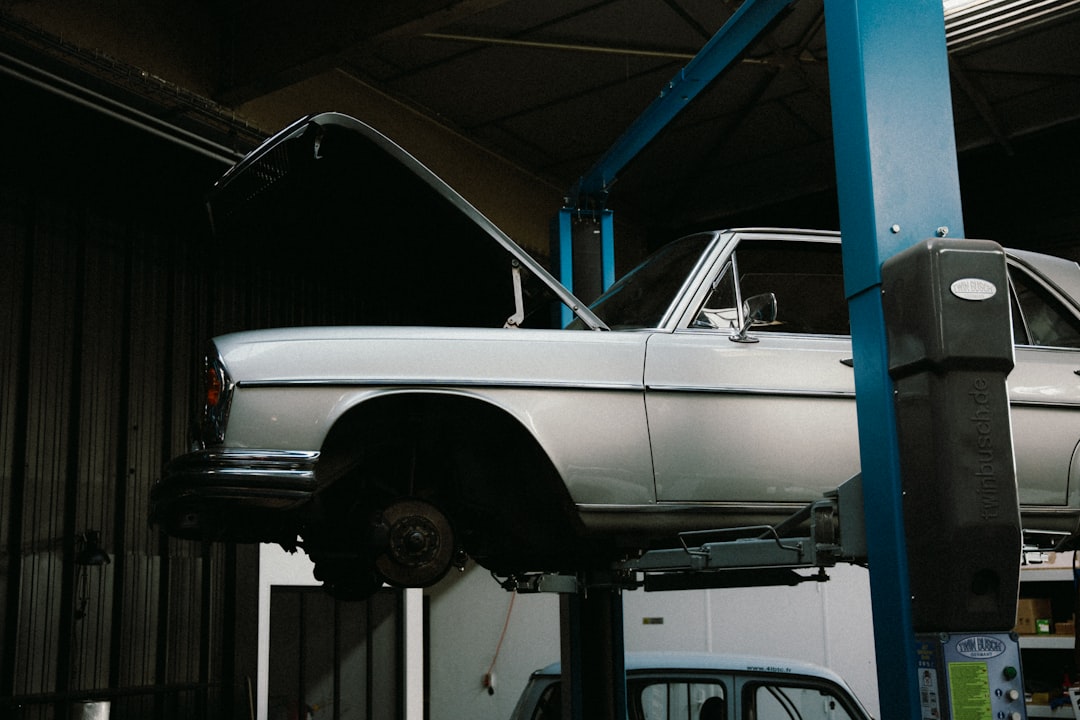
The Step-by-Step R53 Head Gasket Replacement Process
This process requires patience and organization. Labeling parts and taking photos as you go is highly recommended to ensure a smooth reassembly.
Phase 1: Engine Disassembly
Safety First: Disconnect the battery's negative terminal and wear safety glasses and gloves.
Drain Fluids: Drain both the engine oil and coolant. Note any contamination for later flushing and dispose of fluids properly.
Create Space: Put the MINI in "service mode" by moving the front bumper and radiator support forward to gain necessary access to the engine.
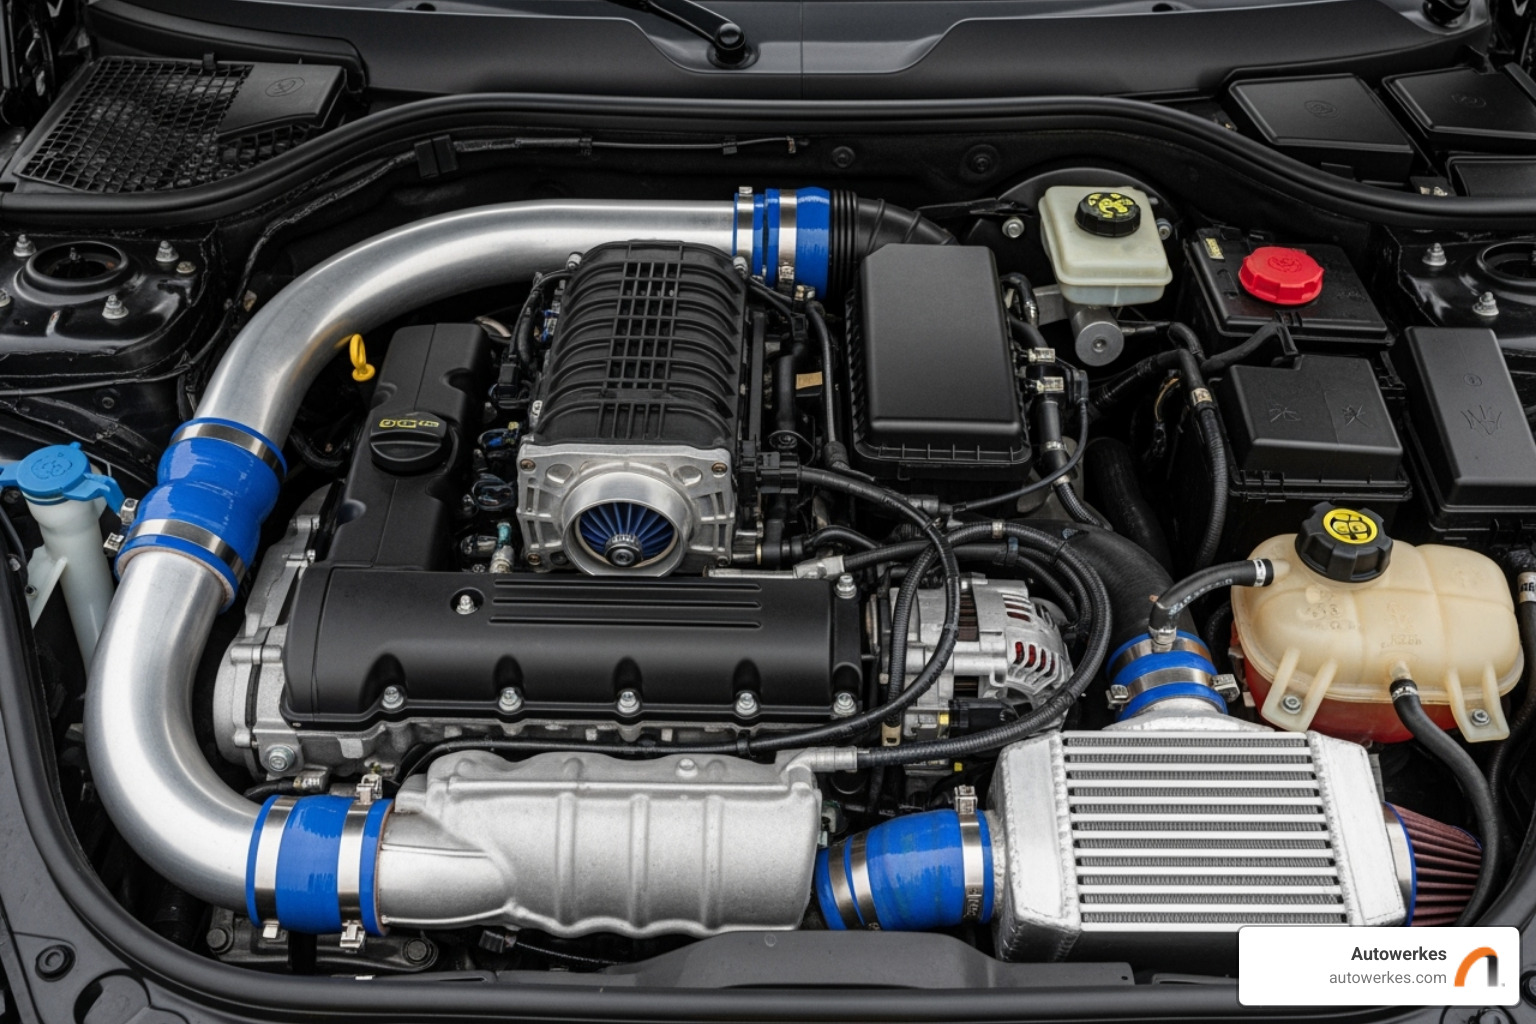
Remove Boostr & Intake: Disconnect all hoses, lines, and wiring to remove the boostr and intake manifold, which block access to the cylinder head.
Set Engine Timing: This is a critical step. Use the special MINI timing tool set to lock the crankshaft and camshafts in position. The R53 engine has no timing marks, so these tools are essential to prevent catastrophic engine damage.
Remove the Cylinder Head: Following the service manual's sequence, loosen and remove the head bolts (discard them, as they are single-use). Carefully lift the heavy cylinder head off the block.

For a visual guide, this video offers a detailed walkthrough: Watch a detailed video guide.
Phase 2: Inspection and Head Gasket Installation
This inspection phase is critical; rushing it will lead to future problems.
Inspect the Cylinder Head: Use a precision straightedge and feeler gauges to check the head for warpage. Check lengthwise, diagonally, and across each cylinder. If the gap exceeds manufacturer specs, the head must be machined. Also, carefully inspect for cracks, especially around valve seats and spark plug holes.
Clean Mating Surfaces: The engine block and cylinder head surfaces must be perfectly clean. Use a plastic scraper and degreaser to remove all old gasket material and carbon buildup. Avoid wire brushes that can damage the aluminum.
Check Block Flatness: Use the same straightedge method to check the block surface. Thoroughly clean all debris and oil from the head bolt holes in the block to ensure accurate torque readings.
Install the New Head Gasket: Position the new gasket correctly on the engine block, following any "up" indicators. Install it dry unless the manufacturer's instructions specify a sealant.
Install and Torque Head Bolts: This is the most critical step. Lower the head onto the block, aligning it with the dowel pins. Install the new, single-use head bolts. Using a calibrated torque wrench, tighten the bolts precisely according to the service manual's sequence and torque-plus-angle specifications. This ensures even clamping force and prevents premature failure.

Phase 3: Reassembly and Final Checks
Now, begin reassembly and final checks.
Reassemble Components: Reinstall all parts in reverse order of removal, using your photos as a guide. Use new gaskets for the boostr and intake manifold. Install the valve cover with its new gasket and any other new components (water pump, thermostat, etc.). Finally, take the car out of service mode.
Refill Fluids: Fill the engine with the correct type and amount of fresh oil and coolant. If the old fluids were contaminated, ensure the systems were flushed thoroughly.
Bleed the Cooling System: This step is essential to prevent air pockets and future overheating. Follow the MINI-specific procedure, which usually involves running the engine with the heater on and topping off coolant until all air is expelled.
First Start-Up and Inspection: Start the engine and listen for unusual noises. Watch the temperature gauge closely and inspect for any oil, coolant, or vacuum leaks. Let the engine reach operating temperature, then cool down completely. Re-check and top off fluid levels.
A properly executed R53 head gasket replacement, combined with addressing the original cause of failure, can give your MINI many more years of reliable performance. However, this is a complex repair requiring special tools and skill. If you're uncertain at any point, professional service is the smartest choice for peace of mind.
If you're in the Huntington Beach, Newport Beach, Fountain Valley, Palos Verdes, Manhattan Beach, Los Angeles, Irvine, Mission Viejo, Laguna Beach, or San Diego areas, the expert technicians at Autowerkes specialize in MINI Cooper repairs. We'll ensure your head gasket replacement is done right the first time. Schedule your expert MINI repair today and get back to enjoying your drive.